
The simplest way to easily and quickly whip up luxuriously smooth and creamy homemade hummus with tahini!

That moment when ya realize you have 6 (!!!) hummus recipe varieties on your blog… and none of them are the classic one!
Don’t mind me as I write a mini love note paying homage to the traditional hummus dish! Cause I feel like a terrible-no-good-very-bad person for excluding it thus far!
Dear Classic & Traditional Hummus,
I have so many sweet memories centered around YOU! Especially from the 6 years lived in Israel. I remember when I first introduced to ya on a summer trip there in my wee youth, your luxuriously creamy and nutty flavor delighted my senses and I was an instant fan. I always thought it was funny when you’d appear in health food stores back in the US, wayyyy chunky and not creamy, sometimes even without tahini which is an integral part of your existence! I mean…. can you even be hummus without tahini? No offense dear garbanzo’s but it’s like missing your better half…
My countless memories devouring ya in Israel include breakfasts, lunches and dinners. Often surrounded by salatim. Sometimes as the appetizer. Other times with ful (fava beans) or masabacha (chickpeas) or lamb and there ya were as the star of the meal and main dish.
I’ve become such a fun and play transforming ya into all sorts of seasonal and colorful variations!
I’ve been sharing all these other versions of you on here and am so sorry I neglected to share YOU!!! You’re the base of all the other recipes. They all stem for YOU!
Thanks for providing such an epic blueprint to riff off of. I love and appreciate ya!
Daniela
Why this Hummus with Tahini Recipe Works
- Quick & Easy!Place all ingredients in a food processor and that’s it!
- Using almost equal parts tahini to garbanzo beans makes the hummus ultra-smooth and creamy.
- Recipe is versatile! Quantity can easily be halved or doubled. And the dish readily lends itself to all sorts of toppings and variations.
- Multi-use recipe: Eat the hummus as is with pita chips or veggies, use it as a spread in a sandwich or bagel or schmear it on a plate topping with chicken or shawarma or so much more! It’s a whole wide hummus world out there of endless possibilities!
- Seasonal year round! It’s a spread/dip that’s never not in season!
What is Hummus Anyways?
Hummus is a dip or spread from the middle east that quite literally means chickpeas in Arabic, otherwise known as garbanzo beans. It’s traditionally made with chickpeas and tahini.
Thus, if you’re non-chickpea dip, you can be thoroughly delicious but alas you are not hummus. I don’t make the definitions… I just tell it how it is.
The full name of the prepared spread in Arabic is ḥummuṣ bi ṭaḥīna which means "chickpeas with tahini” hence my Hummus with Tahini recipe title of this post. And because I’m an advocate of tahini being an integral part of hummus!
The other traditional ingredients in the popular middle eastern and Mediterranean classic hummus recipe include lemon and garlic.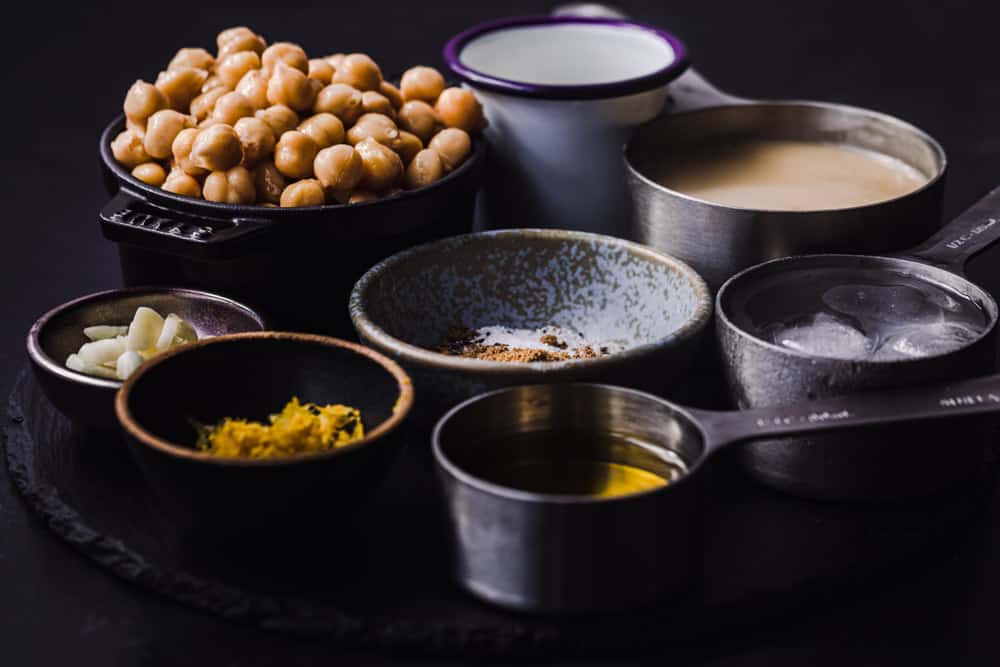
How to Make this Hummus
- Place all ingredients, aside from the olive oil, in a food processor and puree.
- With the motor running, slowly drizzle the olive oil in.
- Taste and season with additional salt and pepper as needed. And that’s it! All done!

Canned vs Dried Chickpeas
It goes like this: I WANT y’all to make this recipe and realize just how quick n’easy making your very own hummus can be! So, I’m simplifying this recipe as much as possible and using canned. Cause I’m secretly (or not so secretly) hoping that once ya see that all ya gotta do to make hummus is literally place a bunch of ingredients in a food processor you’ll always choose to make homemade instead of store bought again!
Howeva: I work as a private chef. That means folks pay me cash $$$ to cook for them. Since it’s literally my job to make everything from scratch, when I’m working, I always used dried chickpeas. The results are indeed superior to canned. But using canned is still wayyyyy superior than non-homemade… make your own hummus I say!
When I’m having a bunch of friends over for dinner and making a gazillion other dishes, ya bet that I indeed often do use canned. And if I wanna go the extra step with my canned chickpeas I actually peel their skins off… which leads to a creamier and smoother finished dish.
The conclusion of the canned vs chickpea debate: Both work! Use whicheva makes YA most happy! There’s a time and place for each.
Plus, I think the entire canned vs dried chickpea debate overshadows an equally important (or perhaps even more so) aspect of your hummus…. the tahini!!!
I always say that the secret to really, really good hummus is… tahini! It’s all about the tahini baby. Thus, a superior tahini will lead to a superior hummus. Get the good stuff if ya can!
Tahini is a smooth paste traditionally made of hulled sesame seeds. Or you can use non-hulled sesame seeds which is black tahini and make black hummus!
Cooks Tips
- If you have a food processor, now is the time to use it! If you don’t, a blender works too.
- Use the best possible tahini you can find.
- Both canned and dried chickpeas work for this hummus recipe! ¾ cup of dried chickpeas is equal to 15 oz can. Using dried chickpeas will create an even better flavor than canned but take more time.
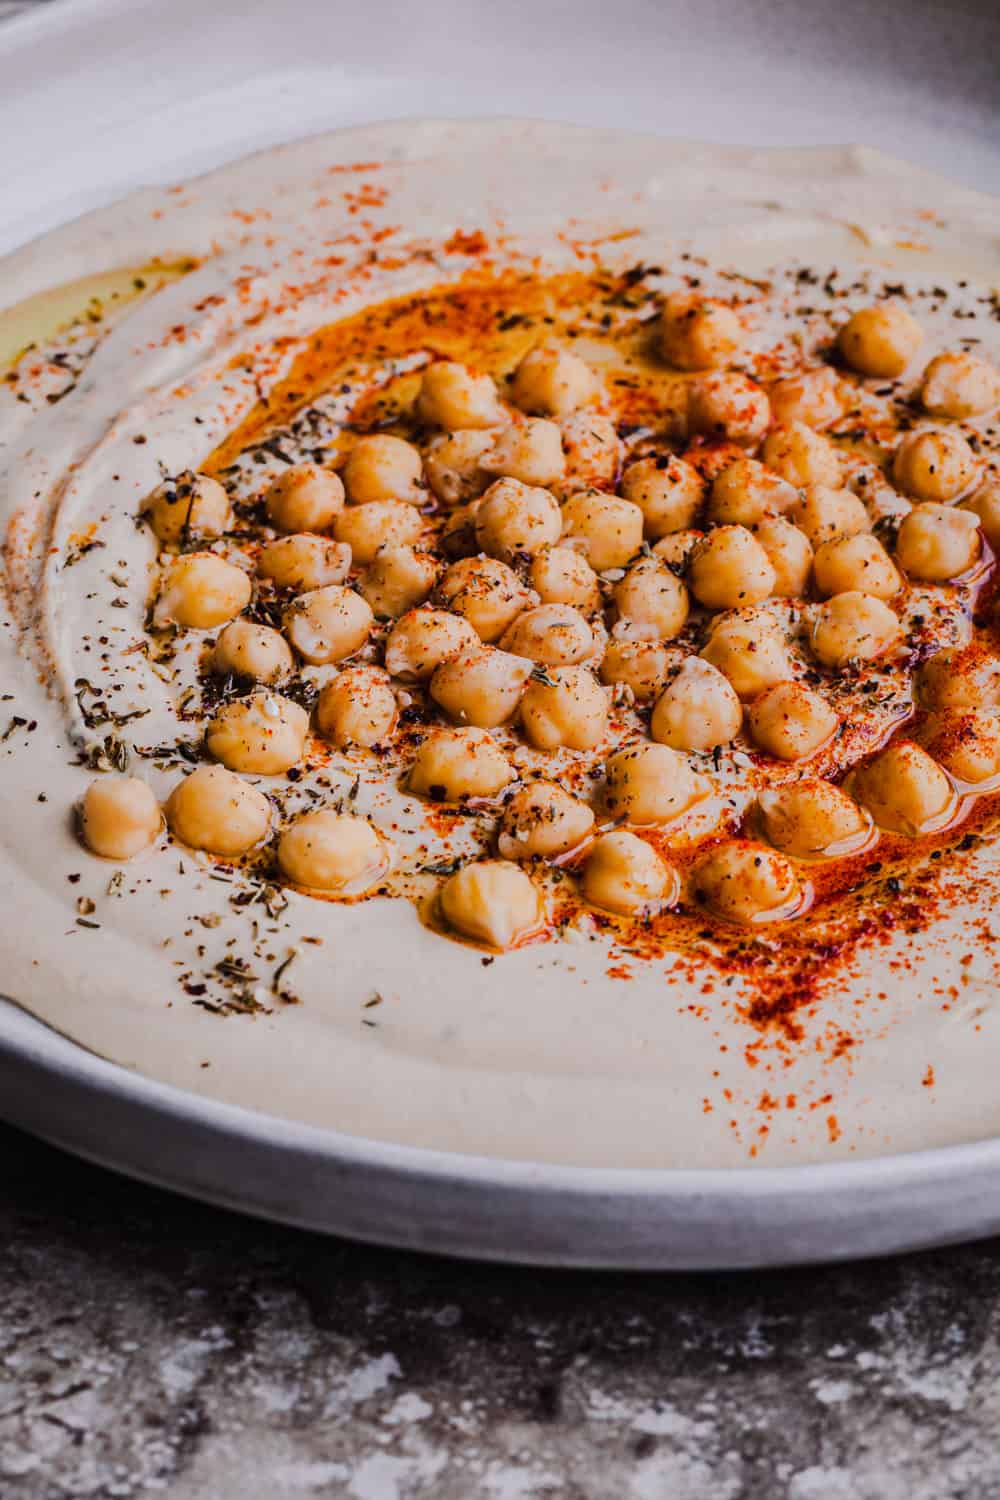
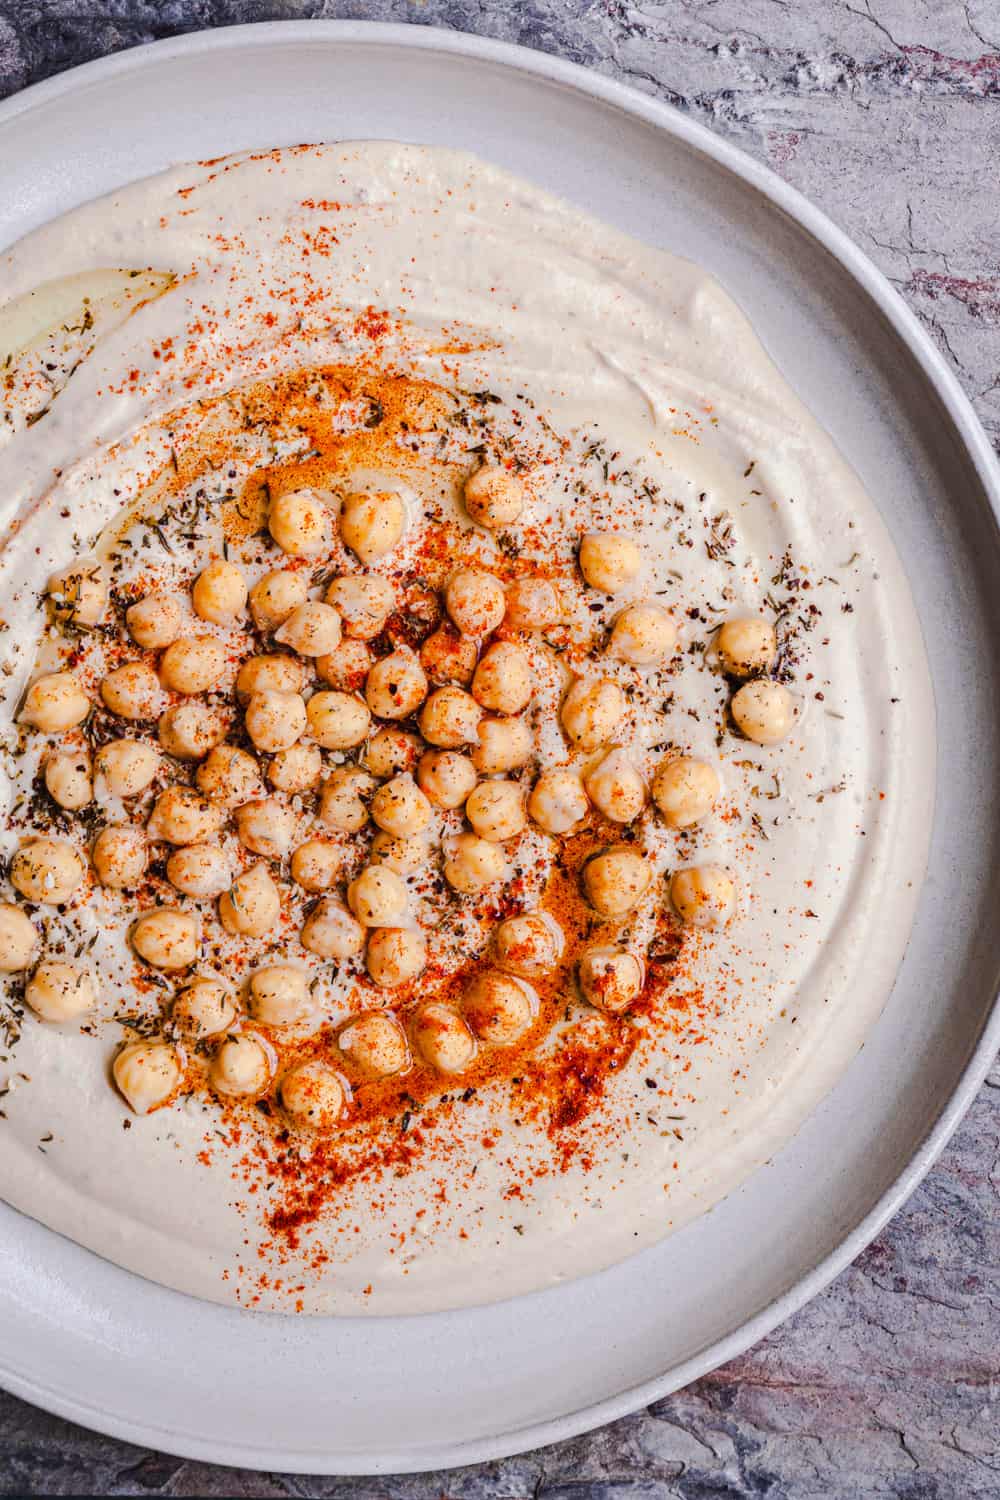
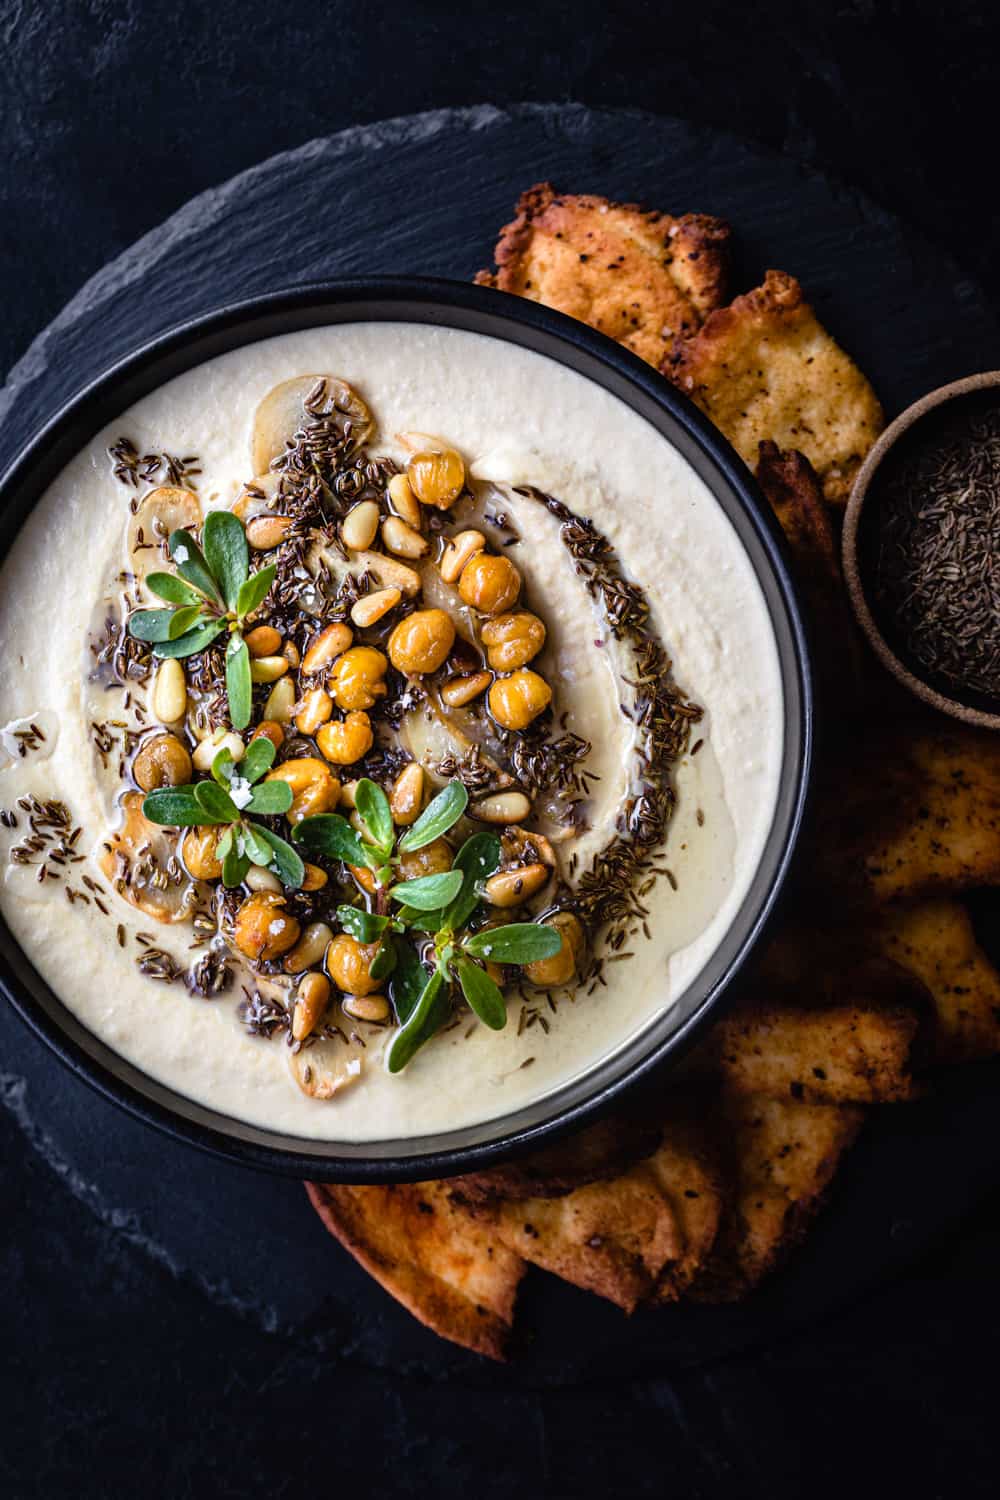
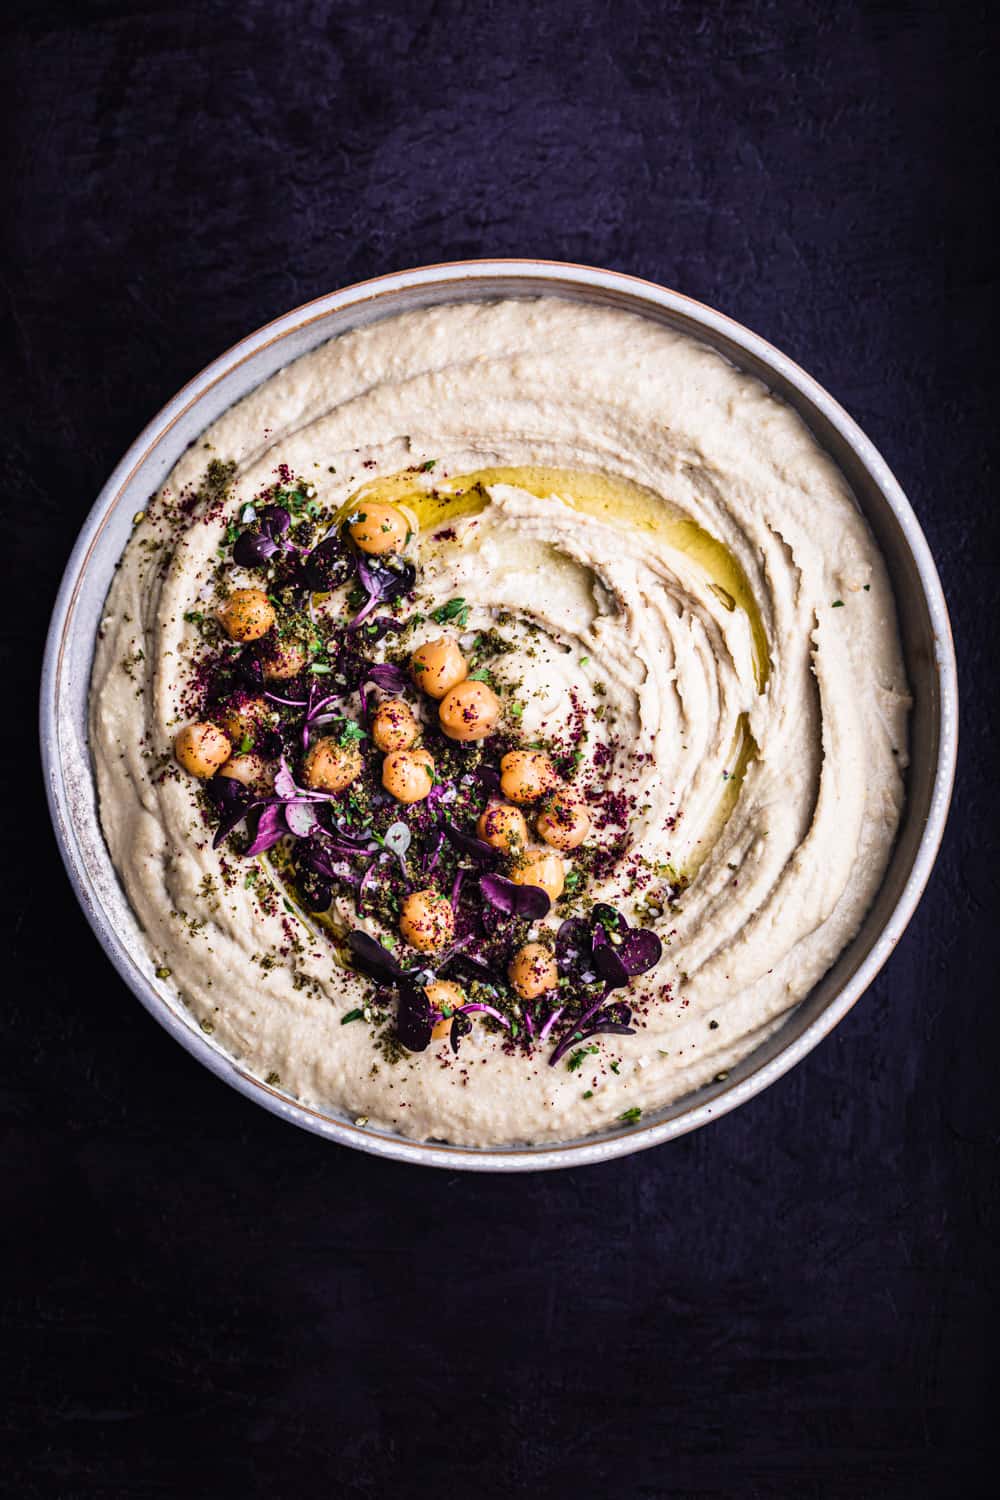
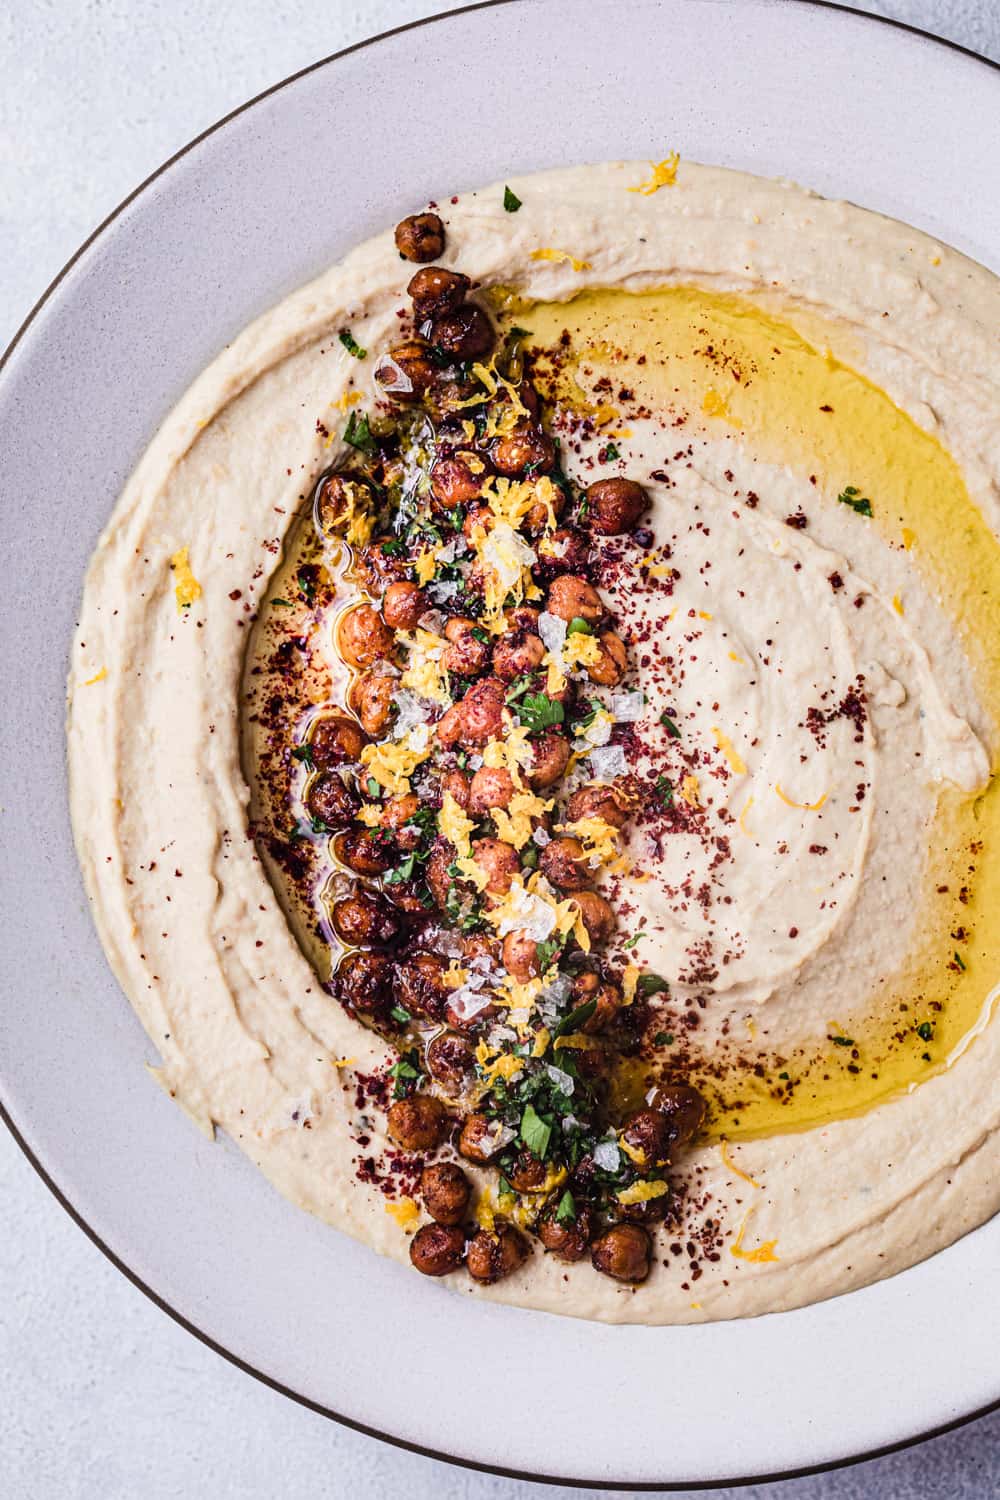
- Get playful with toppings options! See some suggestions below and all my pics for ideas.
- Leftover hummus will keep in the fridge a week.
- Hummus will thicken up in the fridge, dilute with 1 tablespoon of cold water at a time until you get your perfect consistency again.
Stoked on hummus??? I got YOU!
Check out all my hummus-licious varieties: roasted beet hummus, carrot hummus, butternut squash hummus, black tahini hummus, easy 7 layer hummus Dip and hummus with spiced lamb.
And if ya wanna know how to make these crispy chickpeas, I got ya there too!
Have ya tried this recipe? I’d love to hear about it and see it too! Please leave a comment below and take a pic and tag it on Instagram with #wavesinthekitchen. You can also follow me on Facebook, Instagram and Pinterest to see more colorfully delicious food and all sorts of awesome adventures!
Let's make waves in the kitchen!

Hummus with Tahini
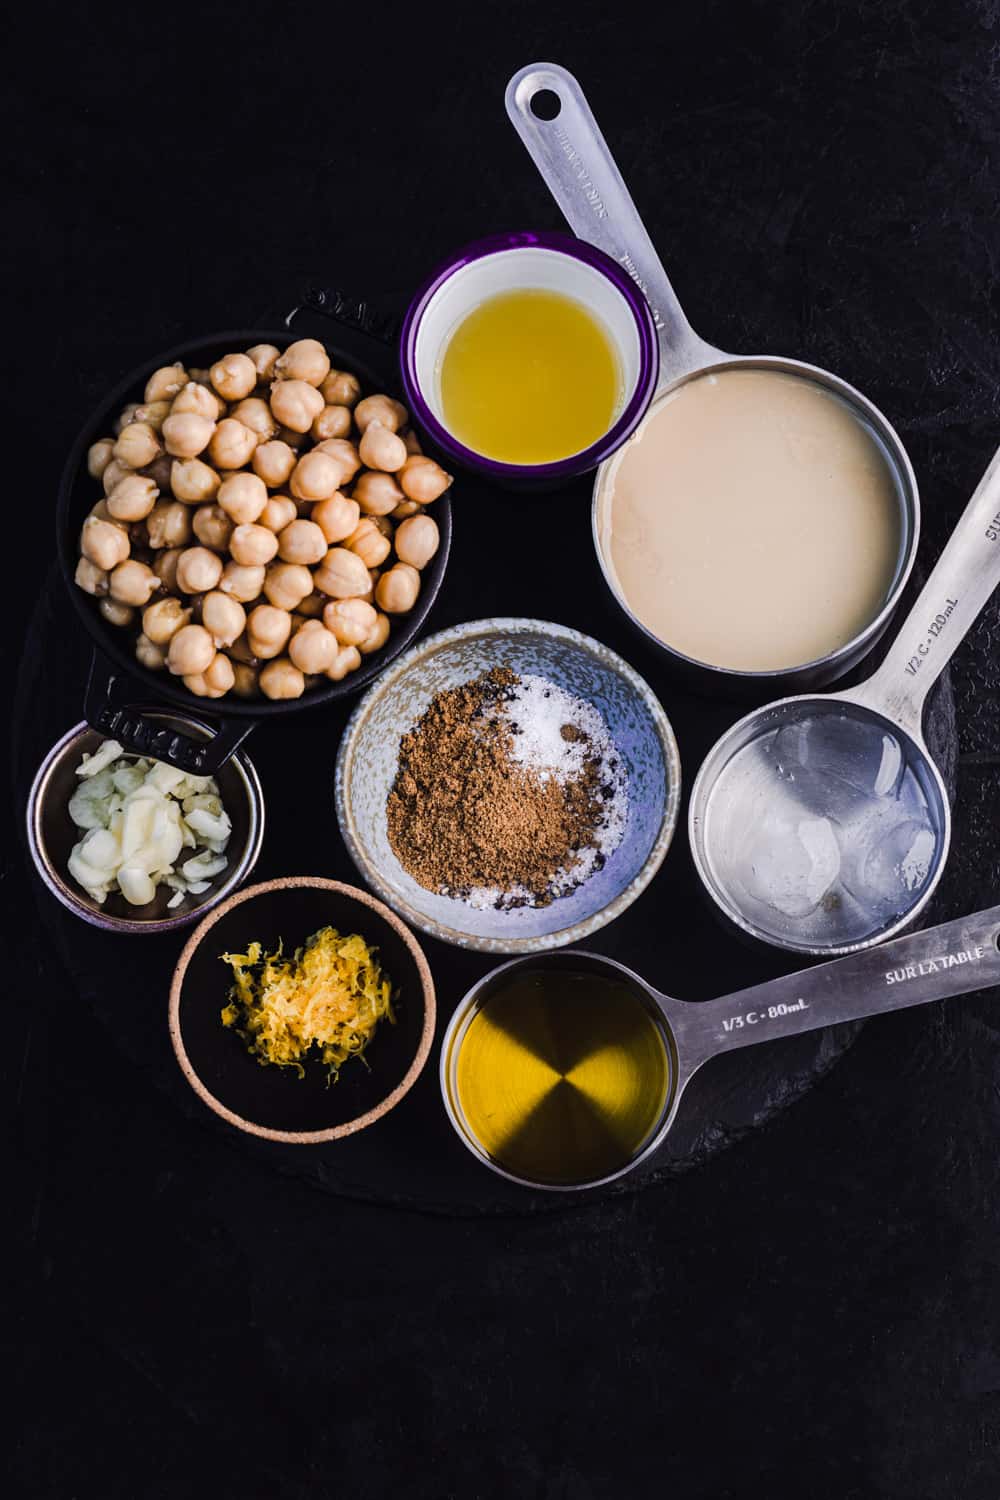
Ingredients
- 1 cans of chickpeas drained
- 2/3 cup tahini
- zest & juice of 1-2 lemons
- 1-2 tablespoons of ice water
- 2 garlic cloves minced/chopped
- 1/3 cup olive oil
- 1 teaspoons cumin
- kosher salt
Instructions
- Combine the chickpeas, tahini, lemon juice, lemon zest, garlic, cumin, and salt in the bowl of a food processor.
- With the motor running, slowly drizzle in the olive oil and blend until smooth.
- Taste and adjust seasoning as needed.
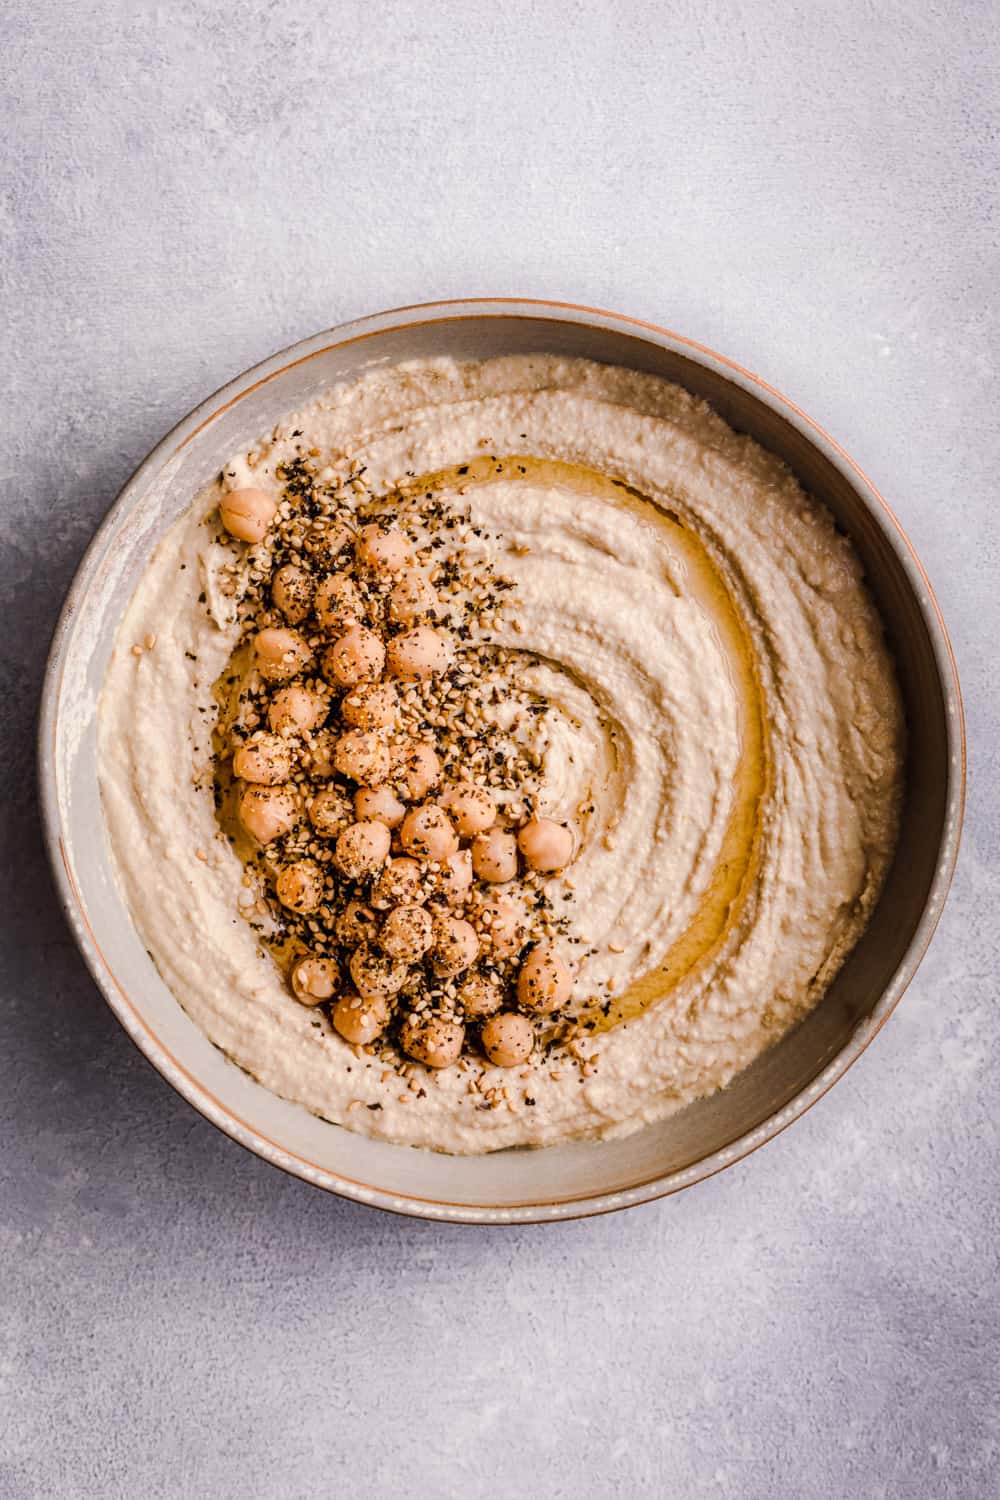
- Serve in a bowl and sprinkle fresh or dried herbs, flaky sea salt, olive oil swirls or anything else your heart desires.
Notes
- If you have a food processor, now is the time to use it!If you don’t, a blender works too.
- Use the best possible tahini you can find.
- Both canned and dried chickpeas work for this hummus recipe! ¾ cup of dried chickpeas is equal to 15 oz can. Using dried chickpeas will create an even better flavor than canned but take more time.
- Get playful with toppings options! See some suggestions below and all my pics for ideas.
- Leftover hummus will keep in the fridge a week.
- Hummus will thicken up in the fridge, dilute with 1 tablespoon of cold water at a time until you get your perfect consistency again.

Leave a Reply